PC Build Planning Checklist
PC build checklist. — Everything you need before clicking buy.
The one resource that prevents the 6pm-on-assembly-day panic call. Twelve components, five tools, three software pre-purchases, and the items first-time builders consistently forget — printed in the order you'll need them.
- components
- 12
- tools
- 5
- software
- 3

The 12 component pre-purchase checklist
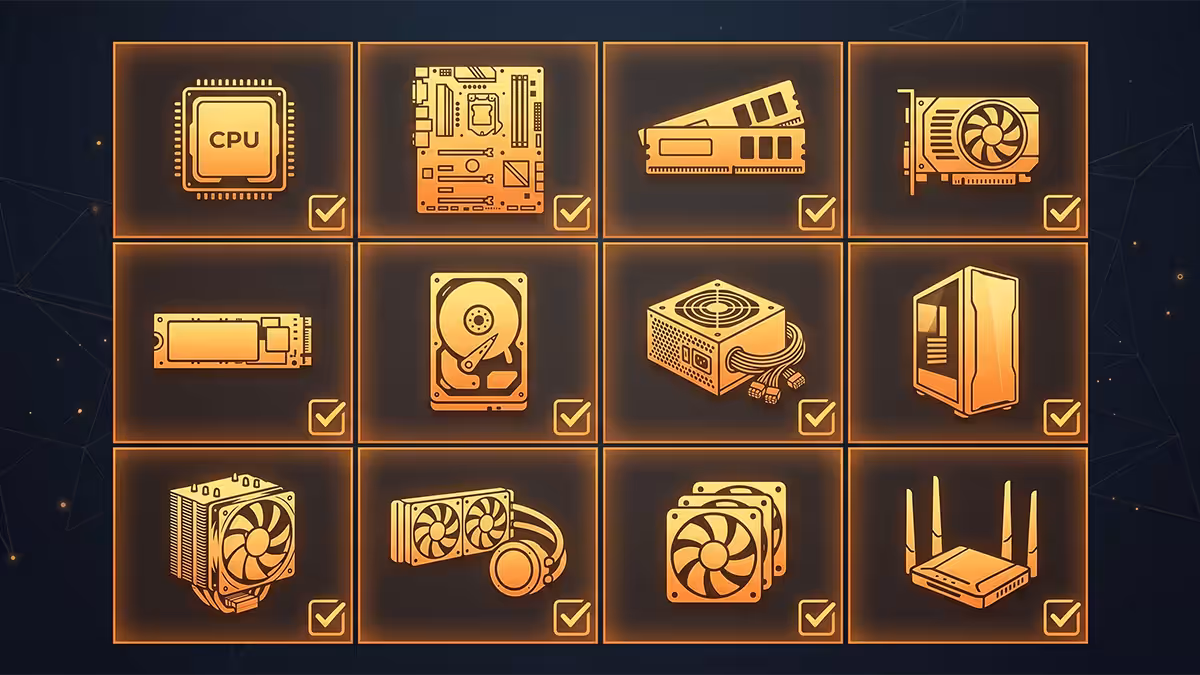
These twelve items together get you from order placed to powered-on PC. Missing any one means you cannot boot. Buy in this order so compatibility flows correctly.
| # | Component | Why it matters |
|---|---|---|
| 1 | CPU | Determines socket (AM5 or LGA1851), RAM type and motherboard chipset. |
| 2 | Motherboard | Match CPU socket. Decides PCIe gen, M.2 slots, RAM speed ceiling, Wi-Fi. |
| 3 | RAM | 32GB DDR5-6000 minimum in 2026. Verify QVL with your motherboard. |
| 4 | NVMe SSD | 1TB Gen 4 minimum. Gen 5 if your board supports and you load big games. |
| 5 | GPU | The bottleneck for gaming. Pick before CPU if budget-constrained. |
| 6 | Power supply (PSU) | 80+ Gold rated, 750W+ for RTX 50-series builds, ATX 3.1 spec. |
| 7 | Case | Verify GPU length, CPU cooler height, motherboard form factor clearance. |
| 8 | CPU cooler | If not bundled with CPU. AIO 240mm for X3D chips, air for everything else. |
| 9 | Windows 11 licence | Home (R2,500) or Pro (R3,800). Not optional. Most-forgotten item. |
| 10 | Monitor | Needed for BIOS access on first boot. 27" 1440p is the 2026 standard. |
| 11 | Keyboard | USB. Required to navigate BIOS and Windows installer. |
| 12 | Mouse | USB. Wired is fine for first boot; upgrade later. |
Optional but often needed: case fans (verify case ships with at least 3 — if not, budget R600-R1,500 extra), Wi-Fi adapter (most B650/B850 boards include it, cheaper B650M sometimes don't), speakers/headphones (you'll boot to silence otherwise).
The 5-tool checklist
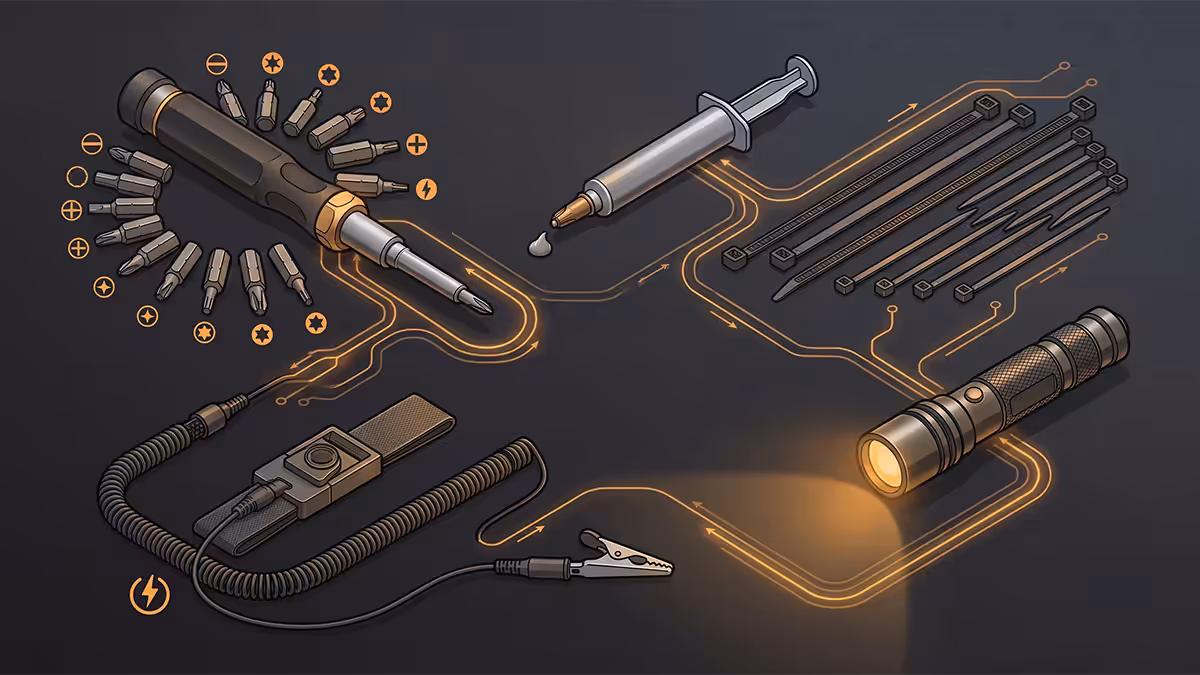
You don't need a workshop. Five items get you through assembly cleanly.
1. Phillips #2 magnetic screwdriver (essential, R150-R300). The only tool that genuinely matters. Magnetic tip catches dropped screws inside the case, saving you 20 minutes of fishing. iFixit Mako or any decent SA hardware brand works.
2. Needle-nose pliers (helpful, R80-R150). For routing tight cables behind the motherboard tray, removing stiff PSU connector clips, or rescuing a dropped screw deep in the case.
3. Cable ties or velcro straps (essential, R30-R80). Cases ship with 4-6 ties — never enough. Buy a pack of 100 cheap zip ties or a roll of velcro for cleaner re-doable cable management.
4. Anti-static wristband (optional, R80-R150). The risk of ESD damage is overstated for modern components, but the wristband is cheap insurance. Touch bare case metal first as the practical alternative.
5. Torch or phone flashlight (essential). Cases are dark inside. You'll need to verify orientation arrows on the CPU, the front-panel connector pinout, and PSU cable labels. Phone flashlight works fine.
Nice-to-have but optional: magnetic parts tray (R150), thermal paste (most coolers include some pre-applied), extra fan splitters, USB extension cable for front-panel access during testing.
The 3 software pre-purchases
Three pieces of software you must have ready before powering on.
1. Windows 11 licence (R2,500-R3,800). Home is enough for 95% of users. Pro unlocks BitLocker drive encryption, Remote Desktop, Hyper-V virtualisation and group policy controls — useful if you work from home or run a homelab. Buy direct from Evetech, Microsoft Store, or an authorised retailer. Avoid R150 keys from auction sites — they're often stolen MSDN keys that get deactivated months later.
2. Motherboard chipset drivers (free, download to USB stick). Pre-download from your motherboard maker's website (ASUS, MSI, Gigabyte, ASRock). Save to the USB stick along with the Windows installer. Without these, your network adapter may not work on first boot, leaving you unable to download anything else.
3. GPU driver (free, also pre-download). NVIDIA GeForce drivers for RTX cards or AMD Adrenalin for RX cards. Windows 11 will install a generic Microsoft-signed driver on first boot, but you want the latest stable WHQL driver to play games. Pre-loading to USB saves a 600MB+ download on Day 1 if your network needs a chipset driver first.
Items first-time builders forget
From thousands of build support tickets and panic calls, here are the items most consistently forgotten — in order of frequency.
The Windows 11 licence key (37% forget this). The PC boots, BIOS works, Windows installer launches… and asks for a product key the builder doesn't have. R2,500 unexpected purchase. Plan this in advance.
An 8GB+ USB stick (22% forget). The Windows installer needs to live somewhere. A 32GB USB 3.0 stick costs R150. SanDisk Cruzer, Kingston DataTraveler or any decent brand works.
A magnetic Phillips #2 screwdriver (18% forget). Builders try with a regular screwdriver and spend an hour retrieving dropped screws from inside the case. Buy a R180 magnetic one.
Thermal paste backup (12% forget). Most mid-tier coolers ship with pre-applied paste, but if you remove the cooler for any reason during assembly (to fix mounting), you need fresh paste. R200 syringe of Arctic MX-6 is the insurance.
Spare SATA cables (8% forget). If adding a 2.5" SATA SSD or HDD, motherboards usually only include 2 SATA cables. A 3-pack from Evetech is R80.
Speakers or headphones (5% forget). The PC boots in silence. If your monitor doesn't have built-in speakers (most 27" 1440p gaming monitors don't), you literally cannot hear anything.
A surge protector / UPS (5% forget). Especially in SA with load-shedding and grid instability — plugging a R30,000 PC directly into a wall socket is asking for trouble. A R1500 Mecer 1000VA UPS gives you 8-10 minutes runtime to save and shut down.
Assembly-day checklist
On the day you build, work through these in order. Each item prevents a specific frustration.
- Clear a 1m × 1.5m workspace on a hard surface. No carpet. No pets. Good light.
- Lay out all components still in their packaging on a side table.
- Touch bare case metal to discharge static before handling components.
- Install CPU on motherboard first before mounting the motherboard in case. Easier with the board on a flat surface.
- Install RAM in the correct slots (refer to motherboard manual — typically A2 and B2 for two-stick kits).
- Install M.2 NVMe SSD with the screw or motherboard latch before mounting the board.
- Mount the motherboard in the case. Use all standoffs the case provides — missing ones cause flex.
- Install PSU (typically bottom-mounted with fan facing down).
- Connect 24-pin ATX, 8-pin EPS CPU, PCIe power cables before installing the GPU.
- Install front-panel connectors (power button, reset, HDD LED, USB headers). Use the motherboard manual — they are tiny and confusing.
- Install CPU cooler. Pea-sized paste dot in centre if applying fresh.
- Install GPU last. Confirm PCIe power cable is the right one (ATX 3.1 12V-2x6 for RTX 50-series).
- Test-boot outside the case is optional but worth doing for first-time builders. If it boots on a cardboard box, it'll boot in the case.
- Plug in monitor, keyboard, mouse. Press power. Watch for POST.
Post-build software setup
PC powered on, Windows installed, internet connected. Before you launch Steam, run through this software setup in order.
1. Run Windows Update. Settings > Windows Update > Check for updates. Install everything, restart, run again. Repeat until "You're up to date" appears. Usually 2-3 rounds.
2. Install motherboard chipset drivers. From the USB stick or by downloading from your motherboard maker's website. ASUS Armoury Crate, MSI Center or Gigabyte Control Center handles this for you.
3. Install GPU driver. NVIDIA App or AMD Adrenalin. Don't skip — Windows generic drivers leave 20-40% performance on the table in games.
4. Install Visual C++ Redistributables and DirectX runtimes. Most games install these on first launch, but pre-installing speeds first-game-launch up.
5. Install a browser of choice. Firefox, Brave or Edge with privacy settings tuned. Then install Steam, GOG Galaxy, Epic, Battle.net as needed.
6. Set Windows Game Mode and HAGS. Settings > Gaming > Game Mode (on), Settings > Display > Graphics > Default settings > Hardware-accelerated GPU scheduling (on for modern GPUs).
7. Set up backup. OneDrive for documents, a separate external SSD for full image backup. We cover this in the secure-your-PC guide.
BIOS first-boot settings to verify
Before installing Windows, enter BIOS (usually Del or F2 at boot) and check these six settings.
| Setting | Action | Why |
|---|---|---|
| XMP / EXPO profile | Enable | Without this, DDR5 runs at slow 4800 default speed instead of the 6000+ on the sticker. |
| CPU idle temperature | Check < 50°C | If above, cooler isn't seated properly. Re-mount before continuing. |
| All RAM & storage detected | Verify | If missing, re-seat. Common with M.2 SSDs in the wrong slot. |
| Re-Size BAR / Smart Access Memory | Enable | Gives modern GPUs ~5-10% extra performance in many games. |
| Boot order | USB first, then SSD | So Windows installer USB loads on first boot. |
| BIOS version | Check latest stable | Update if available before Windows install. Don't update on beta versions unless required. |
Common pre-build mistakes
Buying components piecemeal over weeks. By the time the last part arrives, the first might be discounted, replaced, or out of warranty start. Order in one batch.
Not verifying case GPU clearance. Mini-ITX and micro-ATX cases regularly have 280mm GPU limits — and modern RTX 5080 / 5090 cards reach 320mm+. Measure before clicking buy.
Skipping the PSU calculator. Use Cooler Master or be quiet! PSU calculators. RTX 50-series + Ryzen 9 X3D builds need 850W+ ATX 3.1 PSUs. Buying a 650W to save R500 ends in shutdown crashes under gaming load.
Ignoring case fan count. Some budget cases ship with one fan. You need at least 3 (two intake, one exhaust). Budget R500-R1,500 for case fans separately.
Buying DDR4 RAM by accident. All current AM5 and LGA1851 platforms are DDR5-only. DDR4 sticks will not fit, will not work, and are not interchangeable.
Forgetting the Windows 11 minimum requirements. Windows 11 needs TPM 2.0 (all modern motherboards have it, must be enabled in BIOS) and Secure Boot. If you get a "This PC can't run Windows 11" error during install, enable both in BIOS.
Key takeaways
- 12 components: CPU, motherboard, RAM, NVMe SSD, GPU, PSU, case, CPU cooler, Windows, monitor, keyboard, mouse.
- 5 tools: Phillips #2 magnetic screwdriver, cable ties, anti-static wristband, torch, USB stick.
- 3 software: Windows 11 licence (R2,500-R3,800), chipset drivers, GPU driver — pre-load to USB.
- The Windows licence is the item 37% of first-time builders forget. Plan ahead.
- On first boot: enable XMP/EXPO, verify temps, check all storage detected, enable Re-Size BAR.
Frequently asked questions
What components do I need to build a PC?
12 essentials: CPU, motherboard, DDR5 RAM, NVMe SSD, GPU (unless iGPU), PSU, case, CPU cooler if not bundled, Windows licence, monitor, keyboard, mouse.What tools do I need to build a PC?
5 items: Phillips #2 magnetic screwdriver, needle-nose pliers, cable ties or velcro, anti-static wristband (optional), torch. Magnetic screwdriver is the only essential.Do I need to buy Windows separately?
Yes. Windows 11 Home (~R2,500) or Pro (~R3,800) OEM key from Evetech or Microsoft. Avoid R150 grey-market keys — they get deactivated.What is the one item first-time builders forget most often?
The Windows licence key — 37% of first-time builders. Followed by USB stick (22%), magnetic screwdriver (18%), thermal paste backup (12%).Do I need a monitor, keyboard and mouse to first-boot the PC?
Yes — can't enter BIOS or install Windows without all three. Cheapest combo: 24" 1080p monitor (R2,000), basic keyboard (R250), wired mouse (R200).How big should my Windows installer USB stick be?
8GB minimum, 16-32GB recommended for headroom. SanDisk Cruzer or Kingston DataTraveler 32GB USB 3.0 is R150 in SA.What BIOS settings should I check on first boot?
Six settings: enable XMP/EXPO for RAM speed, check CPU idle temp under 50°C, verify all RAM and storage detected, enable Re-Size BAR, set USB boot order, update BIOS if needed.Can I build a PC without an anti-static wristband?
Yes — modern components are ESD-resistant. Touch bare case metal first to discharge. Wristband is cheap insurance at R80-R150 but optional in practice.