Mac Fix · Backup
Back up your Mac with Time Machine. — Encrypted, automatic, 3-2-1 sound.
Time Machine is the most underrated thing Apple ships. Set up once, plug in occasionally, and you have a complete rollback machine for every file, app and system setting — going back weeks.
- drive vs Mac size
- 2-3x
- automatic snapshots
- Hourly
- 2 TB SSD in SA
- R2,200+
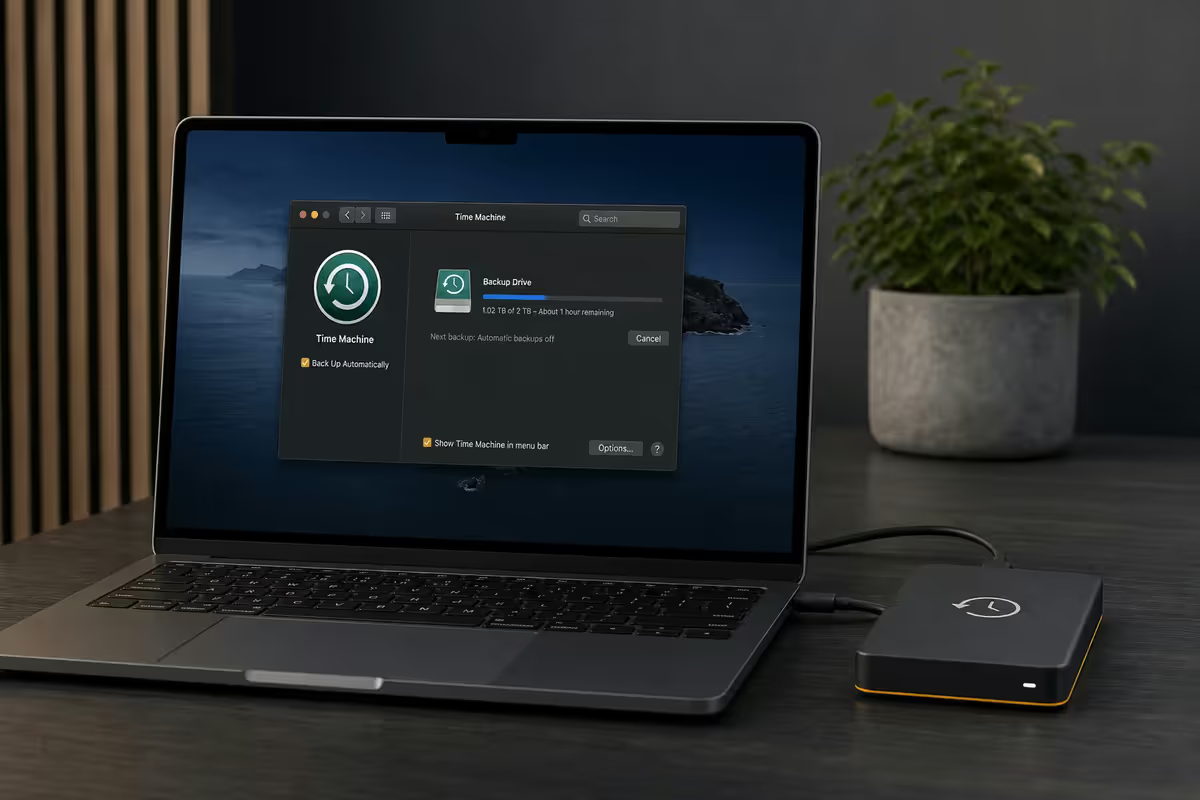
Why Time Machine still wins in 2026
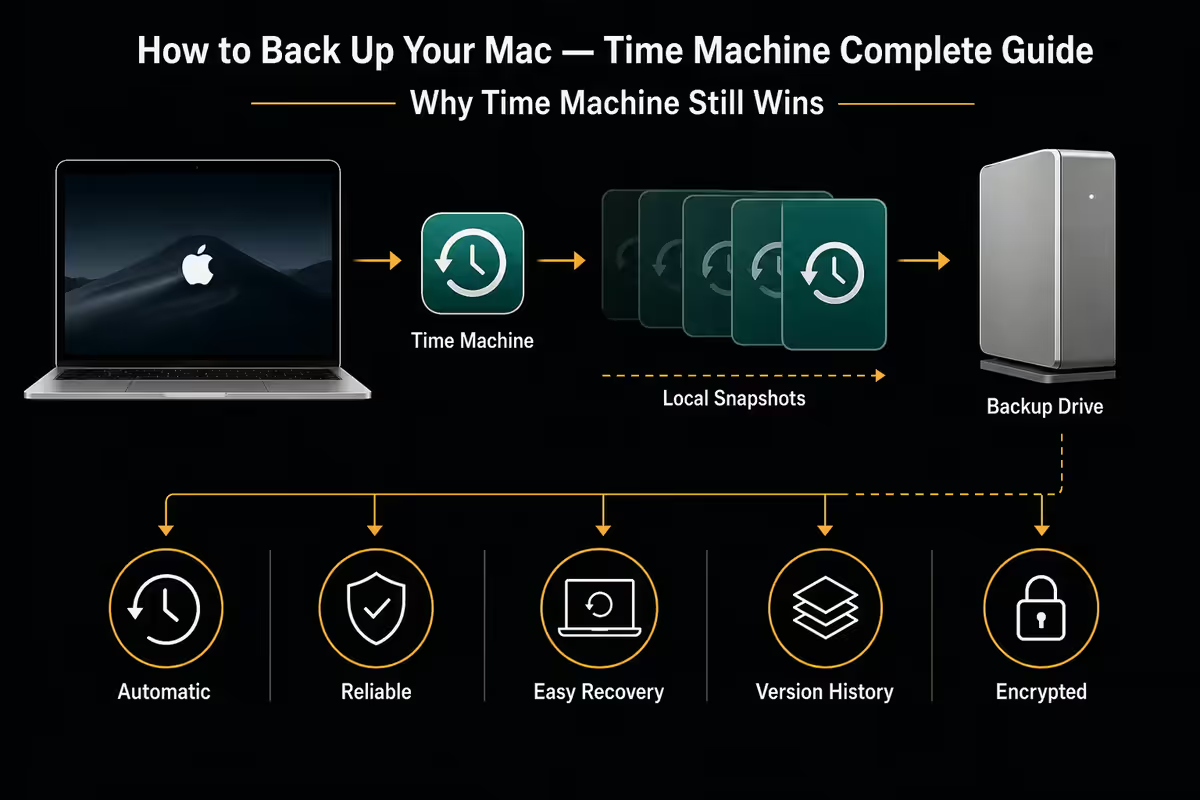
There are slicker backup tools — Backblaze for offsite, Carbon Copy Cloner for bootable clones, Arq for cloud-versatile backups. But for the everyday case of "I want my Mac protected without thinking about it," Time Machine is unbeatable.
What Time Machine actually backs up:
- Every file in your home directory
- Every app, including paid licences and preferences
- System settings — Wallpaper, Dock layout, login items, Network configurations
- Keychain — every saved password and certificate
- Mail accounts, Messages history, Photos library
- System version itself — including older macOS releases if needed
Plug it into a new Mac (or a freshly-restored one), tell Migration Assistant to use the Time Machine drive, and your entire working life is back — same apps, same wallpaper, same WiFi networks, same Slack workspaces. Takes 1-4 hours unattended.
SSD or HDD for Time Machine
| Property | Portable SSD | External HDD |
|---|---|---|
| Backup speed (1 TB initial) | 25-40 min | 2-5 hours |
| Hourly increment speed | 1-3 min | 5-15 min |
| Shock resistance | Excellent (solid state) | Poor (moving parts) |
| Noise | Silent | Audible spin-up/down |
| Capacity per Rand | R1.50-R2.00 per GB | R0.40-R0.55 per GB |
| 2 TB price in SA | R2,200-R3,500 | R1,200-R1,800 |
| 4 TB price in SA | R4,500-R6,500 | R1,500-R2,400 |
| Travel-friendly | Yes — bag-ready | Mostly desk-tethered |
The honest call in 2026: portable SSD is the right answer for the majority of MacBook users. Yes you pay double per gigabyte, but backups complete in minutes, the drive survives bag-drops, and "I'll plug it in for an hour while I work" is realistic. HDD remains the right answer if you have 4-8 TB of data you can't fit on an affordable SSD — or if the backup drive lives permanently on your desk and never moves.
Recommended SA picks (mid-2026):
- Samsung T7 Shield 2 TB — IP65 rugged, USB 3.2 Gen 2, ~1,050 MB/s. R2,800.
- Crucial X9 Pro 2 TB — slim aluminium, USB 3.2 Gen 2, ~1,050 MB/s. R2,400.
- SanDisk Extreme V2 2 TB — carabiner loop, water/dust resistant. R2,500.
- WD Elements 4 TB HDD — bulk-archive use, USB 3.0, ~140 MB/s. R1,800.
- Seagate Backup Plus 5 TB — biggest bang per Rand. R2,200.
Setup — with encryption from day one
Step 1 — format the drive APFS. Open Disk Utility (Cmd+Space → "Disk Utility"). Select your external drive in the sidebar, click Erase. Format: APFS. Scheme: GUID Partition Map. Name it something memorable like "TimeMachine-2TB". Click Erase.
Step 2 — add it to Time Machine. System Settings → General → Time Machine → Add Backup Disk. Select your drive. Crucial: check the Encrypt Backups box. Set a strong password and a hint. Save the password to iCloud Keychain or 1Password immediately.
Step 3 — first backup. Time Machine starts immediately. For a 500 GB Mac to a USB-C SSD, expect 25-45 minutes for the first full backup. After that, hourly incremental backups complete in 1-3 minutes.
Step 4 — verify it ran. Click the Time Machine icon in the menu bar. You should see "Latest backup: just now" or similar. Try Browse Time Machine to confirm files are visible in past snapshots.
The snapshot schedule
Time Machine in 2026 (macOS Sequoia and later) keeps:
- Local snapshots on the internal SSD — even when the backup drive isn't connected, your Mac quietly keeps 24 hours of APFS snapshots locally. You can roll back from these without the external drive.
- Hourly snapshots for the past 24 hours — every change captured.
- Daily snapshots for the past month — consolidated nightly.
- Weekly snapshots for everything older — until the drive fills up.
When the drive fills, Time Machine deletes the oldest weekly snapshots first. You don't manage this. You just keep more drive than you think you need.
Why 2-3x your Mac's storage: a Mac with 500 GB of data and 50 GB of monthly change writes ~1.5 TB to backup over 6 months when versions accumulate. Headroom buys history. A 1 TB backup drive for a 500 GB Mac gives you maybe 2-3 months of versions; 2 TB gives you 6+ months.
Exclusions — what NOT to back up
By default Time Machine intelligently skips system caches and virtual machine state. A few categories you should manually exclude:
| Folder | Why exclude | Size impact |
|---|---|---|
| ~/Downloads | Transit area, not permanent storage | 5-50 GB saved |
| VM images (Parallels, VMware) | Rebuild from clean image | 30-200 GB saved |
| Steam library | Steam re-downloads on restore | 50-500 GB saved |
| Dropbox / Google Drive synced folders | Cloud is the backup | 10-100 GB saved |
| ~/Library/Developer/Xcode/DerivedData | Auto-rebuilt by Xcode | 10-80 GB saved |
| ~/Library/Caches | Auto-rebuilt by apps | 2-20 GB saved |
Add exclusions: System Settings → General → Time Machine → Options → + button → navigate to and select the folders to skip. They'll be permanently excluded going forward.
Restore — file, system or full migration
Single-file restore (the killer feature). Open the folder that contained the file. Click the Time Machine icon → Browse Time Machine. Use the arrows on the right (or the timeline) to scroll back. Find the file, click Restore. Done in 30 seconds.
Folder or full directory restore. Same flow as single-file. Select the folder in Browse Time Machine, click Restore. Time Machine asks whether to overwrite the existing folder or merge.
Full Mac restore (after a wipe or replacement). Boot the Mac. Apple Silicon: press and hold the power button to enter recoveryOS. Choose Reinstall macOS. After install completes, the Setup Assistant asks if you want to migrate from a Time Machine backup — yes, plug in, follow prompts. 2-4 hours unattended.
Migration Assistant (transferring to a new Mac). On the new Mac's first boot, Setup Assistant offers Migration Assistant. Choose "From a Mac, Time Machine backup, or startup disk." Plug in the backup drive. Choose what to migrate (Applications, User Account, Settings, Other files). Click Continue. The whole working environment comes across — apps, accounts, wallpapers, WiFi networks, keychain.
The 3-2-1 rule, applied to a Mac
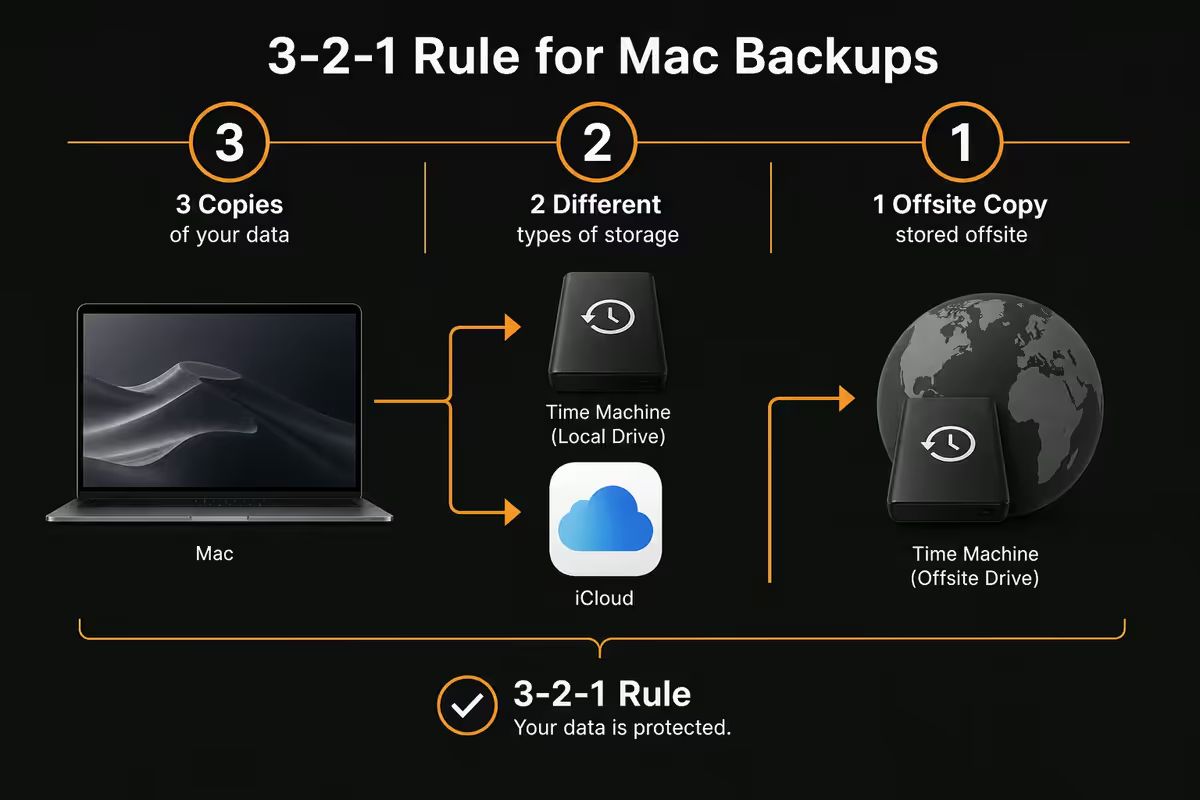
The industry-standard backup rule: 3 copies of your data, on 2 different media types, with 1 copy off-site. Translated to a Mac in 2026:
- Copy 1 (Mac internal): the working data on your MacBook SSD.
- Copy 2 (local backup): Time Machine on a portable SSD or external HDD.
- Copy 3 (off-site): Backblaze (R140/month unlimited), iDrive (R110/month for 5 TB), or iCloud Drive for working documents.
Why off-site matters: a burglary takes both your Mac and the external drive in the same bag. A fire, a flood — all in one place. Off-site is the only protection from "everything in this room is gone." Backblaze is the simplest implementation — install once, runs forever, R140/month for unlimited storage.
Common Time Machine mistakes
No encryption. Skipping the Encrypt Backups checkbox creates a drive in your laptop bag that exposes every file you own. Always encrypt.
Treating iCloud Drive as a backup. iCloud syncs — meaning if you delete a file or ransomware encrypts it, that change syncs everywhere. iCloud has 30-day file recovery for some folders but it's not a real backup. Time Machine is.
Using the backup drive as working storage. Don't store unique data on the Time Machine drive — if Time Machine corrupts the volume (rare but happens), you lose both your backup and the unique files.
Forgetting to plug in for weeks. The local APFS snapshots cover you for ~24 hours of disconnected operation. Beyond that you're rolling without a net. Set a calendar reminder if you keep forgetting — or use the dock setup so the drive is connected whenever you're at your desk.
Drive too small. A 1 TB backup drive for a 1 TB MacBook means you only get a few weeks of snapshots before Time Machine starts deleting history. 2-3x your Mac size is the rule.
Key takeaways
- Buy a backup drive 2-3x your Mac's storage. 2 TB SSD covers 512 GB Macs perfectly.
- Always encrypt — check the box on day one. Save password to iCloud Keychain.
- Time Machine takes hourly snapshots, consolidates to daily and weekly automatically.
- Exclude Downloads, VM images, Steam library, cloud-synced folders.
- Apply 3-2-1: Mac + Time Machine + off-site (Backblaze, iDrive or iCloud).
Frequently asked questions
What size external drive do I need for Time Machine?
2-3x your Mac's internal storage. 512 GB Mac → 1-2 TB drive. 1 TB Mac → 2-4 TB drive. The bigger the drive, the more history Time Machine keeps.Should I use an SSD or HDD for Time Machine?
SSD for travel and active use (faster, silent, shock-resistant). HDD for bulk capacity if the drive stays on your desk.How often does Time Machine back up?
Hourly while connected. Consolidates to daily (past month) then weekly (older). Fully automatic.Should I encrypt my Time Machine backup?
Yes — always. Built-in, transparent, and protects you when the drive gets stolen along with your laptop. Save the password to iCloud Keychain.What should I exclude from Time Machine?
Downloads folder, VM images, Steam library, cloud-synced folders (Dropbox, Google Drive), Xcode DerivedData. Saves 100+ GB of pointless backup.How do I restore a single file with Time Machine?
Open the folder. Click Time Machine menu → Browse Time Machine. Scroll back, select file, Restore. 30 seconds end-to-end.What's the difference between Time Machine and iCloud Drive?
Time Machine is a real backup with version history. iCloud Drive is sync — delete a file once, it deletes everywhere. Use both, for different purposes.How do I transfer everything to a new Mac?
Migration Assistant on first boot of the new Mac → "From a Mac, Time Machine backup, or startup disk." Plug in, follow prompts, walk away for 1-4 hours.
Get the Evetech app
Exclusive app-only prices, daily flash sales, and free delivery on orders over R4,000 — download the app and start saving.