Pre-Sale Factory Reset
Factory reset a MacBook before selling. — Erase Assistant. Activation Lock off. Hello screen ready.
Apple's Erase Assistant collapses the entire pre-sale reset into a single guided flow. Sign out, erase, hand over — in that order. Get it wrong and your buyer is staring at an Activation Locked machine you can't unlock remotely. Get it right and the next person sees the same "Hello" screen Apple ships from the factory.
- Erase Assistant
- ~8 min
- pre-handover
- 9 steps
- SA resale w/ box
- +20-30%
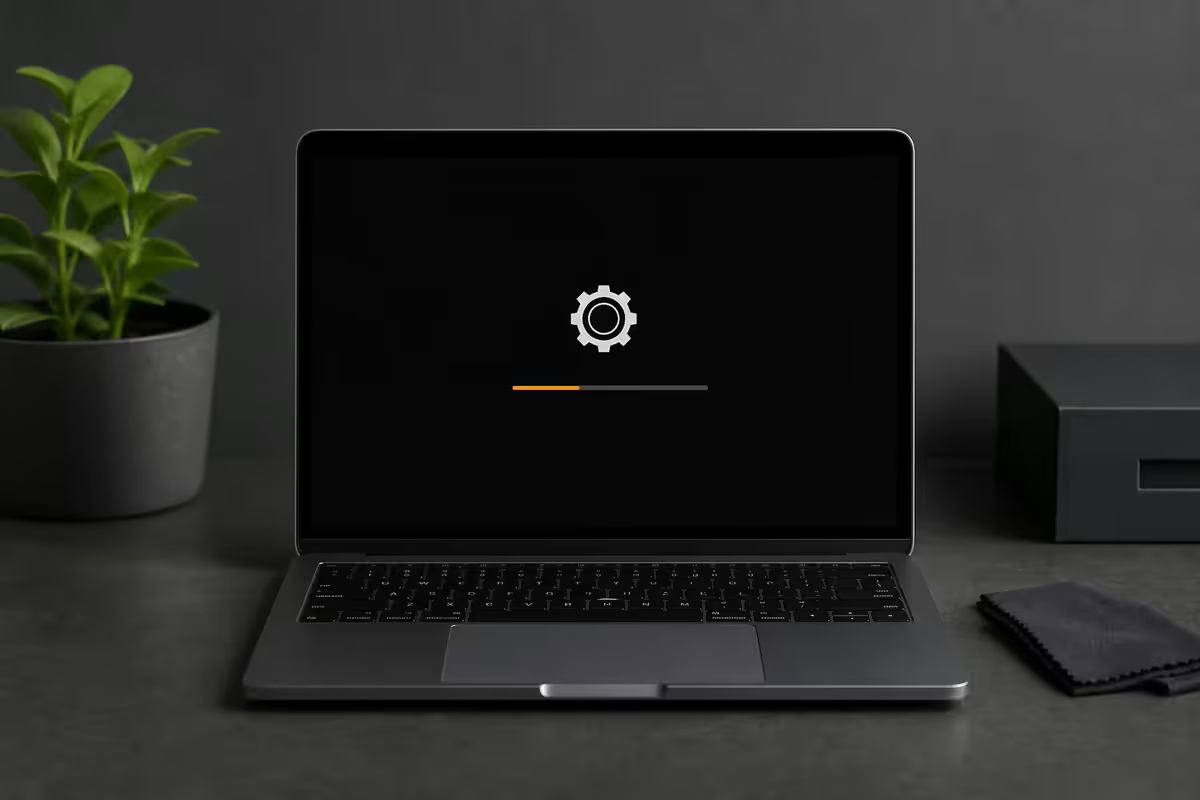
Back up everything first
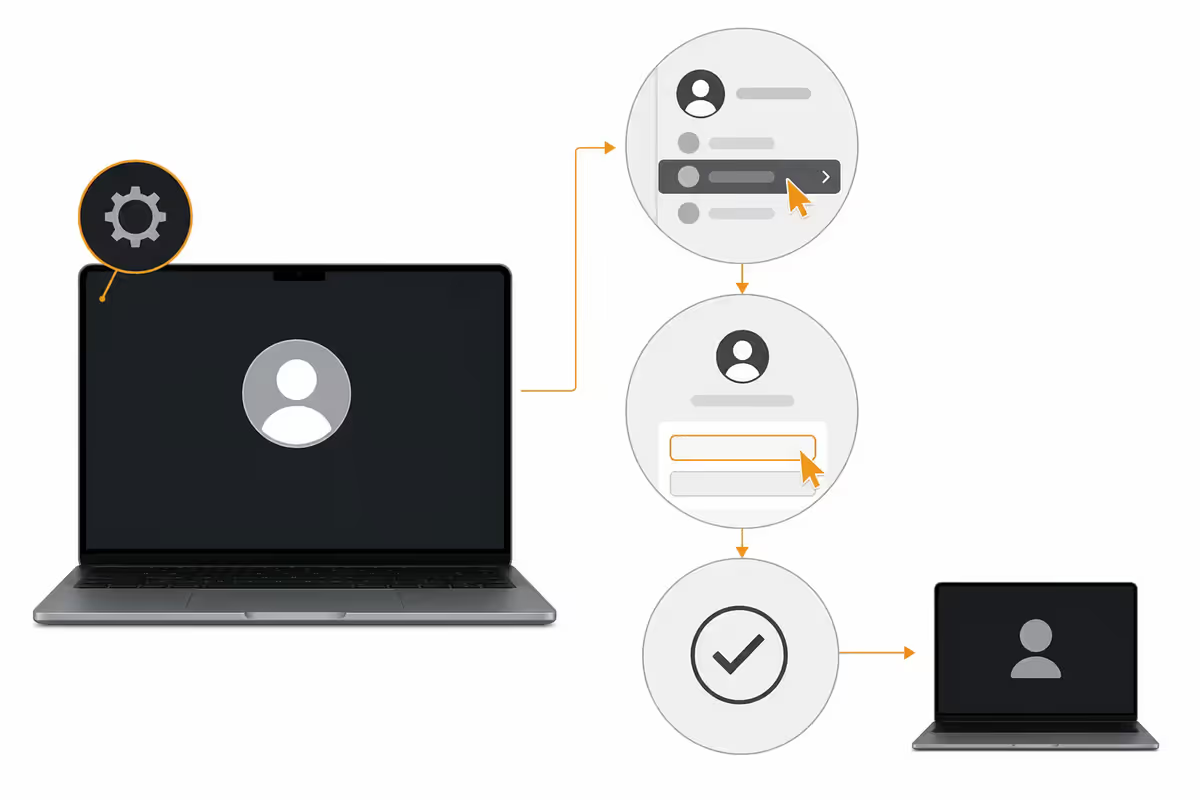
Erase Assistant is destructive. The data volume is wiped, the cryptographic key is destroyed, and there is no recovery. Back up before you start.
The reliable choice: Time Machine to an external drive.
- Plug a 512GB or larger external SSD/HDD into the MacBook.
- Open System Settings → General → Time Machine.
- Click Add Backup Disk, select the external drive, choose to encrypt the backup (recommended).
- Wait for the first backup to complete. A 256GB MacBook takes 30-90 minutes over USB-C; a 1TB Mac with full data can take 4-8 hours.
- When the menu bar shows "Backup complete", open the external drive in Finder and confirm the timestamp matches the current date.
The cloud-only choice: verify iCloud has everything. Open System Settings → Apple ID → iCloud → check Photos is on, Desktop & Documents Folders is on, Mail is on. Open Photos and let it complete sync (bottom of the sidebar shows status). This works but isn't a full system backup — if your iCloud storage is full or you've used non-iCloud Mail, things will be missing.
Sign out of Apple ID and iCloud
This is the single step that determines whether the buyer can use the MacBook. Sign out of your Apple ID and Activation Lock turns off; skip it and the buyer is bricked at the setup screen.
- System Settings → Apple ID (your name at the top of the sidebar).
- Scroll to the bottom — click Sign Out.
- You'll be asked which iCloud data to keep on this Mac. Since you're erasing anyway, untick everything — there's no point keeping local copies that get wiped.
- Enter your Apple ID password to confirm.
- Wait for sign-out to complete. Verify by returning to System Settings → Apple ID and confirming it shows "Sign in to your Apple Account".
On modern Macs, Erase Assistant performs this sign-out automatically as part of the guided flow — you don't strictly need to do it manually first. But doing it manually means you can confirm it worked before committing to the erase, and you get one last chance to read which iCloud data is being released.
Deactivate Messages and FaceTime
Even after iCloud sign-out, Messages and FaceTime can hold separate session tokens.
- Messages → Messages menu → Settings → iMessage tab → Sign Out.
- FaceTime → FaceTime menu → Settings → Sign Out.
If you don't, messages addressed to this Mac as a device can route to it indefinitely until the buyer triggers a sign-out themselves. Erase Assistant handles this on T2 and Apple Silicon Macs, but a manual sign-out first guarantees nothing is left.
Deauthorise Music — five-slot reality
Apple Music has historically limited DRM-protected content to five authorised computers per Apple ID. If you've owned multiple Macs and never deauthorised the old ones, you've burned slots that take a year to recover automatically.
To deauthorise the Mac you're selling:
- Open the Music app.
- Menu bar → Account → Authorisations → Deauthorise This Computer.
- Enter your Apple ID password.
- Confirm "Computer Deauthorised" message.
If you've already lost track of which Macs you authorised: Account → Authorisations → Deauthorise All Computers is available once per year via a manage-devices link. Use it sparingly — it's the nuclear option but it does work.
FileVault — leave it on
FileVault is full-disk encryption. On Apple Silicon and T2 Intel Macs, the encryption key is stored in the Secure Enclave. When Erase Assistant runs, it destroys the key — the encrypted data on the SSD becomes mathematically unrecoverable in milliseconds.
You don't need to decrypt before erasing. In fact, leaving FileVault on gives you a stronger guarantee that data is gone: even if someone recovered the raw NAND chips, they couldn't read anything without the key.
On pre-T2 Intel Macs (2017 and earlier), FileVault key removal isn't atomic. To be safe, turn FileVault off first (System Settings → Privacy & Security → FileVault → Turn Off), wait for decryption to complete (which can take hours), then proceed with the erase via Disk Utility in Recovery.
Erase Assistant — the main event
This is the one-tap factory reset.
- Plug the MacBook into power. Do not run Erase Assistant on battery — interruption during erase requires Recovery to restart.
- Open System Settings → General → Transfer or Reset.
- Click Erase All Content and Settings.
- Enter your administrator password.
- Erase Assistant walks through the data it will remove — iCloud account, Find My, Apple Wallet, fingerprints, accessories, every app and document. Read the summary.
- If prompted, sign in with your Apple ID one final time to confirm Activation Lock release.
- Click Continue. The Mac shuts down, erases, and reboots to the "Hello" setup screen.
Total time is typically 5-10 minutes on Apple Silicon, 15-25 minutes on T2 Intel.
Reset NVRAM (Intel only)
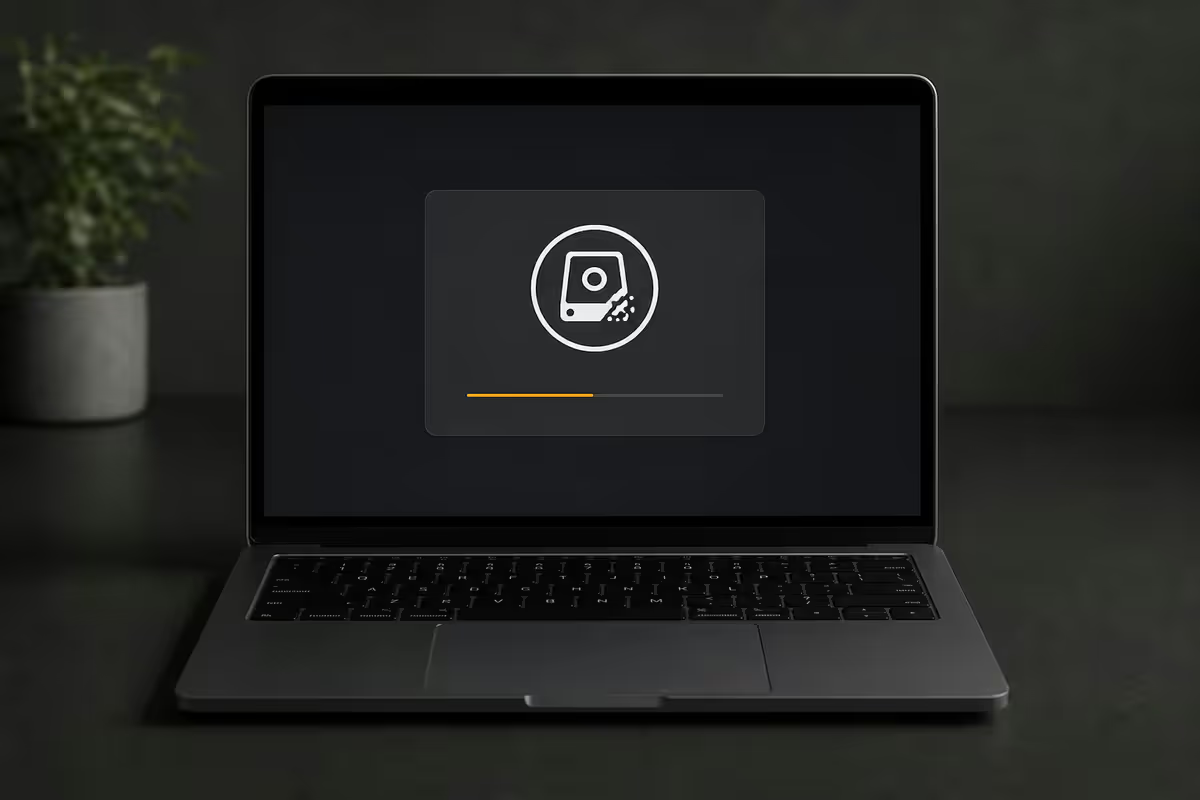
On Intel Macs without T2, NVRAM stores user-specific preferences (timezone, audio volume, startup chime). Resetting before sale is courtesy.
- Power on the (now erased) Mac.
- Immediately press and hold Option + Command + P + R.
- Hold for 20 seconds.
- Release — the Mac boots fresh.
Apple Silicon Macs do not require NVRAM reset — there's no user-triggerable equivalent and it's handled by Erase Assistant.
Buyer hand-off
After Erase Assistant completes, the Mac is ready. Final steps:
- 01
Photograph the Hello screen.
Use your phone, capture the language picker visible. This is your proof of factory reset for the listing and the handover. - 02
Power off the Mac.
Hold the power button until it shuts down. Do not run through setup. - 03
Wipe down the chassis.
Microfibre cloth, slightly damp distilled water on stubborn marks. Don't use IPA on the screen — it can damage the oleophobic coating. - 04
Repack in original box.
Include the original charger, USB-C cable, and any Apple-supplied dongles. Original packaging adds 20-30% to SA resale value. - 05
Print proof of purchase + serial.
Highlight the serial on the box matches the print-out. Buyers verify against appleid.apple.com to confirm warranty status. - 06
Offer in-person handover where possible.
Let the buyer power on, see the Hello screen, sign in with their Apple ID. If Activation Lock asks for your password — stop, take it back, and verify your sign-out steps.
Tools and accessories for the reset + handover
| Item | Why | SA price |
|---|---|---|
| External SSD (1TB) | Time Machine backup target | R1,200 - R2,200 |
| Microfibre cleaning cloth | Screen and chassis wipe-down | R80 - R150 |
| Original Apple box (replacement) | If you've lost it — small resale boost | R250 - R450 |
| USB-C charger (replacement) | If your original is lost or damaged | R900 - R1,800 |
| Apple Care+ transfer | Coverage stays with the Mac, adds value | Free (online transfer) |
Key takeaways
- Erase Assistant (Apple Silicon + T2 Intel) does the whole reset in one guided flow.
- Time Machine backup first — Erase Assistant is destructive and irreversible.
- Sign out Apple ID + Messages + FaceTime to guarantee Activation Lock is off.
- Deauthorise Music to free a slot (you only get five).
- Photograph the Hello screen — your evidence for the listing and the handover.
Frequently asked questions
How do I factory reset a MacBook in 2026?
On any Apple Silicon (M1, M2, M3, M4) or Intel MacBook with a T2 security chip, the correct route is Apple menu → System Settings → General → Transfer or Reset → Erase All Content and Settings. This launches Erase Assistant which signs you out of Apple ID, deactivates Find My, removes Touch ID profiles, erases the data volume, and returns the Mac to setup screen — all in a single guided flow. On Intel Macs without T2 (pre-2018), you must boot into Recovery, wipe the disk in Disk Utility, and reinstall macOS manually.Do I need to back up my MacBook before factory reset?
Yes — Erase Assistant wipes the data volume. Run a Time Machine backup to an external drive first (System Settings → General → Time Machine → Add Backup Disk), or sign in to iCloud and verify Photos, Desktop & Documents, and Mail are all synced. Time Machine is the more reliable choice for a complete restore. Verify the backup completed by opening the external drive and checking the most recent timestamp.What is Activation Lock on a MacBook?
Activation Lock is Apple's anti-theft system. If you don't sign out of your Apple ID before erasing, the next person to set the Mac up will be asked for your Apple ID password — and if they don't have it, the machine is bricked at the setup screen. This is the single most common reason resold MacBooks come back to the seller. Always sign out of iCloud (System Settings → Apple ID → Sign Out) before running Erase Assistant. Erase Assistant on modern Macs handles this for you, but only if you sign in to the Apple ID at the prompt.Should I deactivate iMessage before selling my MacBook?
Yes — and FaceTime too. Open Messages → Settings → iMessage tab → Sign Out. Open FaceTime → Settings → Sign Out. This prevents missed messages and call confusion if your phone is also using the same Apple ID. Erase Assistant signs out as part of the full erase flow, but doing it manually first guarantees no orphan device entries.Do I need to deactivate Apple Music before selling my MacBook?
On macOS, Apple Music authorisation lives in the Music app. Open Music → Account menu → Authorisations → Deauthorise This Computer. You're allowed five authorised computers; deauthorising the one you're selling frees a slot. This matters more than you think — if you've used your five slots on old machines you no longer own, you'll run into authorisation errors on new Macs until you deauthorise all and start fresh once a year.Do I need to reset NVRAM before selling my MacBook?
On Apple Silicon, no — NVRAM resets are not user-triggered and aren't needed. On Intel Macs, NVRAM stores some user-specific settings (timezone, audio volume, display preferences). Resetting before sale is a courtesy to the buyer. To reset Intel NVRAM: shut down, then press the power button while holding Option+Command+P+R for 20 seconds. Erase Assistant on T2 Macs handles equivalent state automatically.Should I turn off FileVault before factory resetting a MacBook?
No — leave FileVault on. Modern Macs (Apple Silicon and T2 Intel) erase the cryptographic key during Erase Assistant, making the encrypted disk instantly unrecoverable. This is faster and more secure than the old method of decrypting first then wiping. If your Mac is pre-T2 Intel, turn off FileVault in System Settings → Privacy & Security → FileVault → Turn Off, wait for decryption to complete (can take hours), then erase via Disk Utility in Recovery.What do I hand over to the buyer when selling a MacBook?
After Erase Assistant finishes, the Mac restarts to the setup screen ('Hello' in multiple languages). Power it off — do not proceed with setup. Wipe down the chassis and screen with a microfibre cloth, repack in original box with the charger and any original cables, include a printed copy of the proof-of-purchase or serial number, and clearly state in the listing that Activation Lock is off and you've completed the Apple sign-out flow. Photograph the Hello screen as your handover evidence. Reputable buyers will set up the Mac in front of you to verify.
Get the Evetech app
Exclusive app-only prices, daily flash sales, and free delivery on orders over R4,000 — download the app and start saving.