Dual Monitor Setup
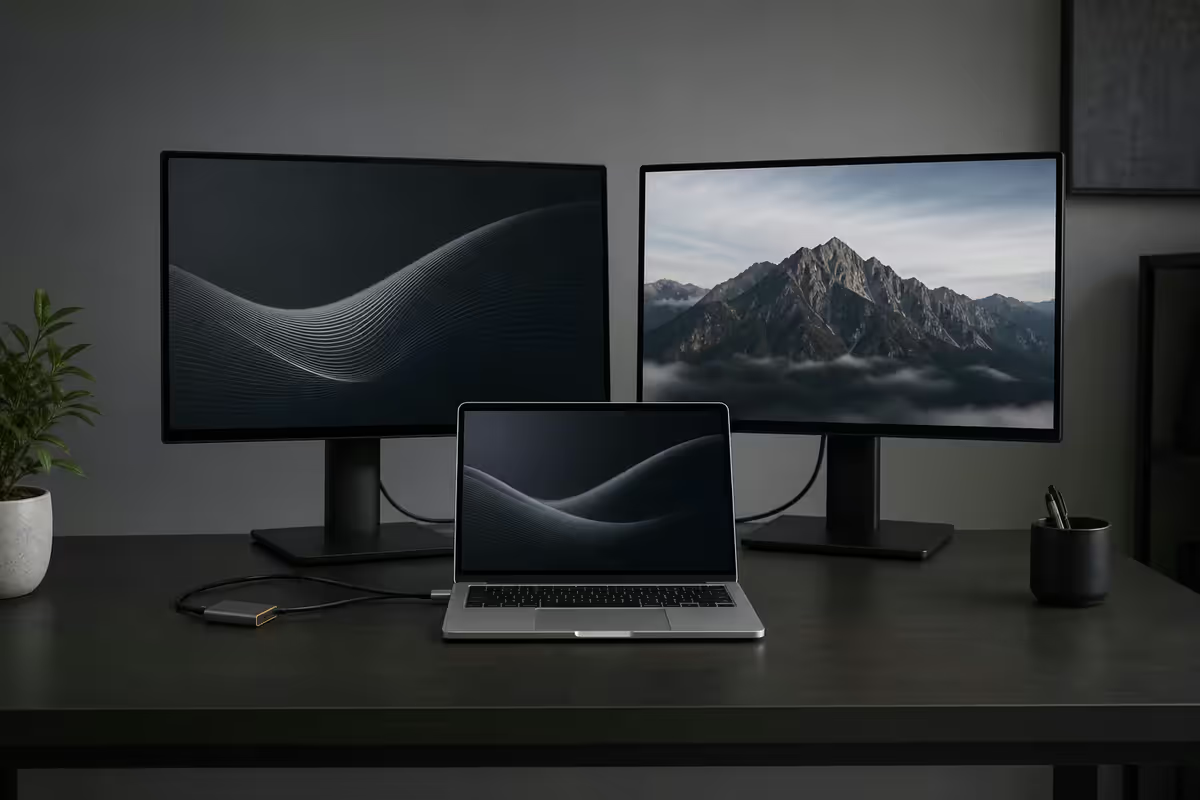
MacBook with dual monitors. — 2 × 27-inch 1440p. The sweet spot.
One MacBook, two external screens, one Thunderbolt 4 cable. Done right, it's the most productive workspace you can build. Done wrong (Air, wrong dock, mismatched scaling) it's three hours of cursing.
- sweet spot
- 2 × 27"
- single cable
- TB4 dock
- true native dual
- Pro only
Which MacBook can drive dual monitors?
This is the question that catches buyers out. Apple's chips have hard limits on external display count, baked in at the silicon level. Knowing your model's limit prevents an expensive misjudgement.
| MacBook | Lid open | Lid closed |
|---|---|---|
| MacBook Air M1 / M2 | 1 external | 1 external |
| MacBook Air M3 / M4 | 1 external + built-in | 2 externals |
| MacBook Pro M4 (base) | 2 externals + built-in | 2 externals |
| MacBook Pro M4 Pro | 2 externals + built-in | 2 externals |
| MacBook Pro M4 Max | 4 externals + built-in | 4 externals |
| Any Air + DisplayLink dock | 2-3 externals + built-in | 2-3 externals |
The honest summary: if you want two externals with the MacBook lid open as a third display, you need a MacBook Pro M4 or newer. The MacBook Air M3/M4 can do two externals but only in clamshell mode (lid closed). DisplayLink rescues the Air for lid-open dual, with caveats.
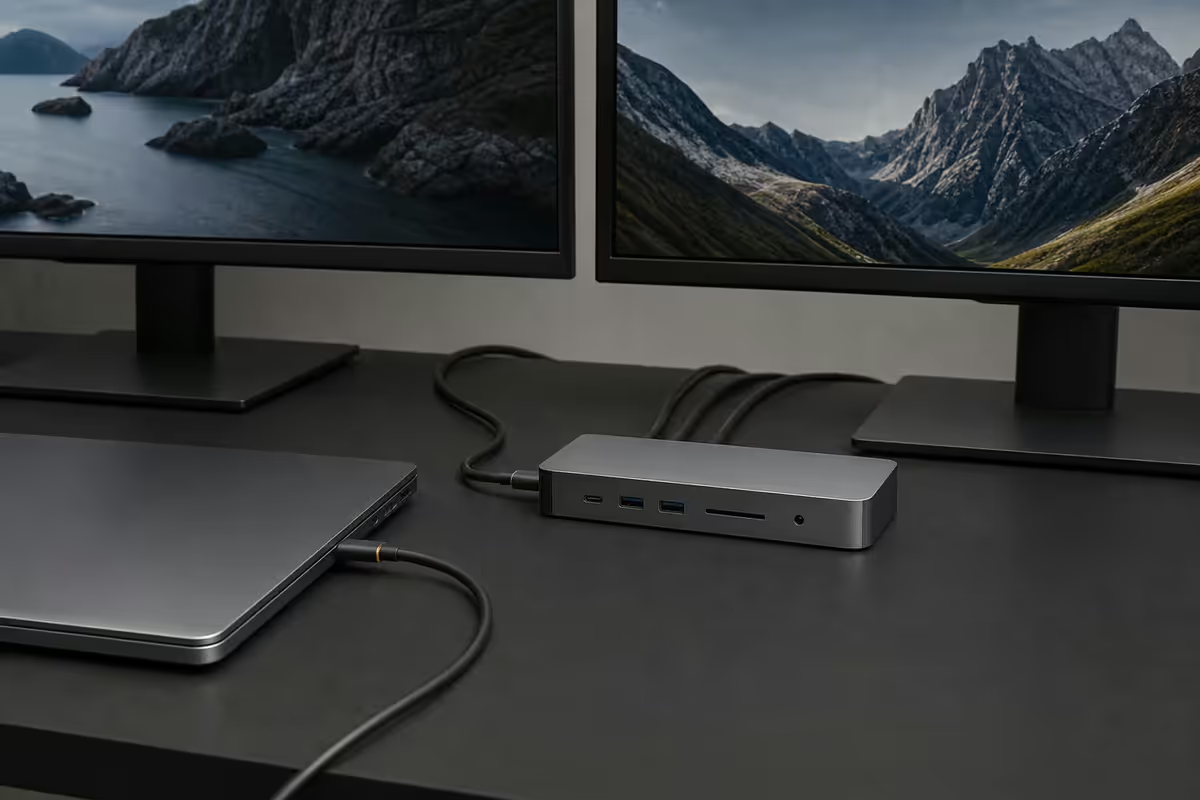
The Thunderbolt 4 dock you actually need
For a clean dual monitor setup, a Thunderbolt 4 dock turns one MacBook port into your entire desk — two monitors, USB peripherals, Ethernet, SD reader, 90W power back to the MacBook. Single cable in and out.
Spec to look for:
- Thunderbolt 4 (not USB-C 3.2) — required for two 4K 60Hz outputs reliably.
- 2× HDMI or HDMI + DisplayPort — most flexible.
- ≥90W Power Delivery — charges a MacBook Pro 14 at full speed.
- Ethernet 2.5GbE — useful if you have gigabit fibre or business connectivity.
- SD / USB-A / front USB-C ports — quality-of-life features.
| Dock | Why it wins | SA price |
|---|---|---|
| CalDigit TS4 | Reference standard, 18 ports, 98W PD | ~R8,500 |
| OWC Thunderbolt 4 Dock | Excellent value, 11 ports, 96W PD | ~R5,200 |
| Plugable TBT4-UDX1 | Compact, vertical-stand-friendly | ~R4,800 |
| Anker 778 Thunderbolt 4 | Budget pick, full specs | ~R3,800 |
| Plugable UD-3900PDZ (DisplayLink, for Air) | MacBook Air dual-monitor unlock | ~R3,800 |
The 2 × 27-inch 1440p sweet spot
Two 27-inch 1440p monitors is the most commonly recommended dual setup for MacBooks for good reason: it hits the sweet spot of resolution, scaling, desk space and cost.
Why 2 × 27" 1440p:
- Native resolution — macOS renders 1440p on 27-inch at native scaling without HiDPI overhead. Crisp text, no fuzziness.
- Realistic budget — solid 27-inch 1440p monitors sit at R5,500-R8,000 each in SA. Two for R12,000-R16,000 vs. R20,000+ for dual 4K.
- Desk space — two 27-inch sit comfortably on a 1.6m desk. 32-inch start to crowd.
- Reliable dual support — every MacBook Pro M4 drives 2 × 1440p at 144Hz easily over a TB4 dock.
Step up to 2 × 27" 4K if you do colour-critical work or want sharper text. macOS scaling "Looks like 2560x1440" gives you 1440p workspace at 4K sharpness — premium experience, ~R8,500-R14,000 per monitor.
Avoid 2 × 1080p at any size over 24-inch. macOS doesn't render 1080p well — text looks soft compared to the same setup on Windows. Worth the upgrade to 1440p minimum.
Arranging monitors in macOS
Physical and digital alignment
System Settings → Displays shows all connected screens as rectangles. Drag them to match the physical position on your desk — left monitor on the left rectangle, right monitor on the right. Otherwise your mouse will exit the left edge of one monitor and appear from the wrong side of another.
The primary monitor (the one with the menu bar and Dock by default) is set by dragging the small white menu bar to your preferred screen in the Displays arrangement view.
Scaling each monitor independently
If your monitors are different sizes or resolutions, macOS lets you set scaling per monitor. System Settings → Displays → click each monitor → choose its individual resolution and scaling. The cursor and text size transition automatically as you move between them.
Spaces per monitor — the power-user move
By default macOS treats all your monitors as one big workspace — Spaces switch on every screen at once. Turn this off and each monitor gets its own independent Spaces stack.
Enable per-monitor Spaces:
- System Settings → Desktop & Dock → Mission Control.
- Toggle ON: Displays have separate Spaces.
- Log out and back in (or restart) for it to take effect on all apps.
Now you can: have Slack + Mail on monitor 1 Space 1, Notion + Linear on monitor 2 Space 1, swipe to monitor 1 Space 2 (a research browser stack) without affecting monitor 2. Four-finger swipe on each monitor moves its workspaces independently.
This single setting is the largest productivity-jump on multi-monitor Macs. Most people never discover it.
Stage Manager per monitor
Stage Manager, the focus-window mode introduced in macOS Ventura and refined since, also works per monitor. Each monitor can have its own stage of windows, its own focus, its own left-rail of standby apps.
When Stage Manager makes sense on dual monitor:
- Designer / writer setup — primary monitor with Figma or Word in focus, secondary monitor with Slack + Notion + browser stacked.
- Developer setup — primary monitor with VS Code or Xcode in focus, secondary monitor with terminal + browser + Postman stacked.
- Researcher / analyst — primary monitor with the report, secondary monitor with sources and reference docs in a stack.
When Stage Manager doesn't: if you need lots of small windows visible simultaneously (multiple Terminal windows, multiple Figma frames side by side), classic windows + Mission Control still wins.
SA monitor picks for MacBook dual setup
| Use case | Pick (per monitor) | SA price each |
|---|---|---|
| Best value 1440p (sweet spot) | Dell U2724D, LG 27QN880-B | R6,500-R8,000 |
| Premium 1440p | Dell U2724DE (USB-C hub built-in) | R9,500-R12,000 |
| 4K productivity | Dell U2723QE, LG UltraFine 27UN850-W | R10,500-R14,000 |
| Mac-optimised premium | Apple Studio Display 27" | R32,000-R36,000 |
| Curved / content creation | Samsung Smart Monitor M8 (32") | R14,000-R18,000 |
| Ultrawide (replaces dual) | LG 34WP65C-B, Samsung Odyssey G9 | R12,500-R28,000 |
| Gaming + work crossover | LG UltraGear 27GP850-B | R10,500 |
Day-to-day workflow on dual monitor
A configured MacBook + dual monitor setup looks like this in practice:
- Morning sit-down. Plug single TB4 cable into MacBook (or just open lid with dock attached). Both monitors light up, MacBook charges.
- Monitor 1 (left). Comms — Slack + Mail + Calendar. Always-on, always-visible.
- Monitor 2 (right). Deep Work — Notion, Linear, Figma, IDE. Stage Manager active.
- MacBook screen. Reference docs, music player, chat bot, scratchpad. Less distracting.
- Per-monitor Spaces. Right swipe on monitor 1 = next Space on left monitor only. Right swipe on monitor 2 = next Space on right monitor only.
- Pack-up. Unplug single TB4 cable, MacBook is mobile in 5 seconds.
Key takeaways
- For true dual + built-in display, you need a MacBook Pro M4 or newer. The Air natively can't.
- 2 × 27-inch 1440p is the universal sweet spot — native scaling, R12,000-R16,000 pair.
- Thunderbolt 4 dock = single cable in/out. CalDigit TS4 or OWC TB4 are the SA picks.
- Enable "Displays have separate Spaces" — the biggest productivity-jump on dual Mac.
- Drag monitors in System Settings → Displays to match physical layout — saves cursor confusion.
Frequently asked questions
Can I use two external monitors with a MacBook Air?
Not natively with lid open. Air M3/M4 supports 2 externals in clamshell mode. For lid-open dual, use a DisplayLink dock (Plugable UD-3900PDZ ~R3,800) or buy a MacBook Pro.What MacBook do I need for true dual monitor support?
MacBook Pro 14 or 16-inch with M4, M4 Pro or M4 Max. Base M4 drives 2 externals + built-in. M4 Max drives 4 externals + built-in.What's the best dual monitor setup for a MacBook?
Two 27-inch 1440p monitors. Native macOS scaling, crisp text, ~R12,000-R16,000 for the pair. Step up to 2 × 27" 4K for sharper text and colour work.How do I arrange dual monitors in macOS?
System Settings → Displays. Drag monitor rectangles to match physical positions. Drag the white menu bar to your primary monitor.Can I have Spaces on each monitor?
Yes — Settings → Desktop & Dock → Mission Control → toggle ON "Displays have separate Spaces". Single biggest productivity unlock on dual Mac.What dock do I need for dual monitors on a MacBook?
Thunderbolt 4 dock. CalDigit TS4 (~R8,500), OWC TB4 (~R5,200), Plugable UDX1 (~R4,800), Anker 778 (~R3,800). For MacBook Air dual: DisplayLink dock instead.Does dual monitor drain MacBook battery faster?
Yes, ~30-40% drop vs standalone use. Not an issue at a desk (always plugged in). Mobile dual: use USB-C monitors that provide power back to the MacBook.Should both monitors be the same size and brand?
Matching gives identical colour, scaling and bezels. Mixed works fine but you'll notice colour temperature differences. If budget-constrained, buy one premium now, match in 3-6 months.
Get the Evetech app
Exclusive app-only prices, daily flash sales, and free delivery on orders over R4,000 — download the app and start saving.