MacBook Fix Guide
How to speed up a slow MacBook.
— 71% of fixes are free. Here's the 30-min diagnostic.
- most common
- 8 fixes
- full diagnostic
- 30 min
- free to fix
- 71%
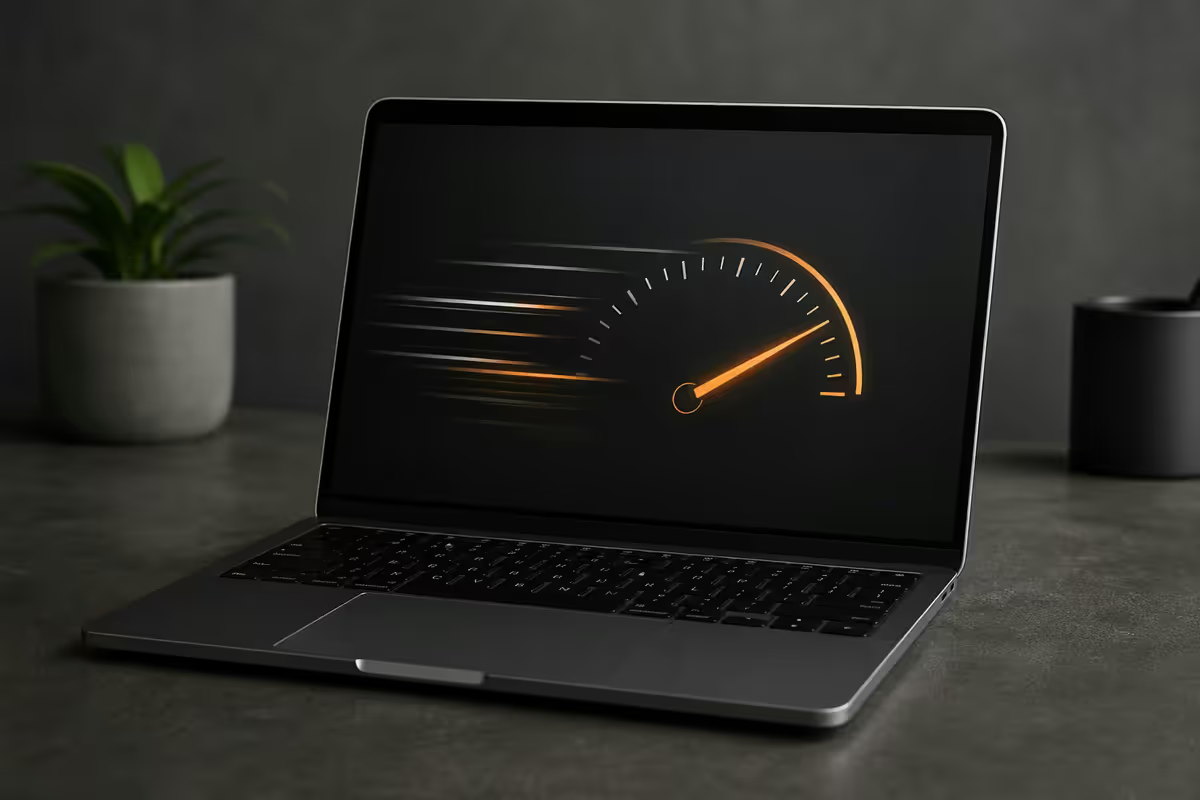
The 30-minute diagnostic
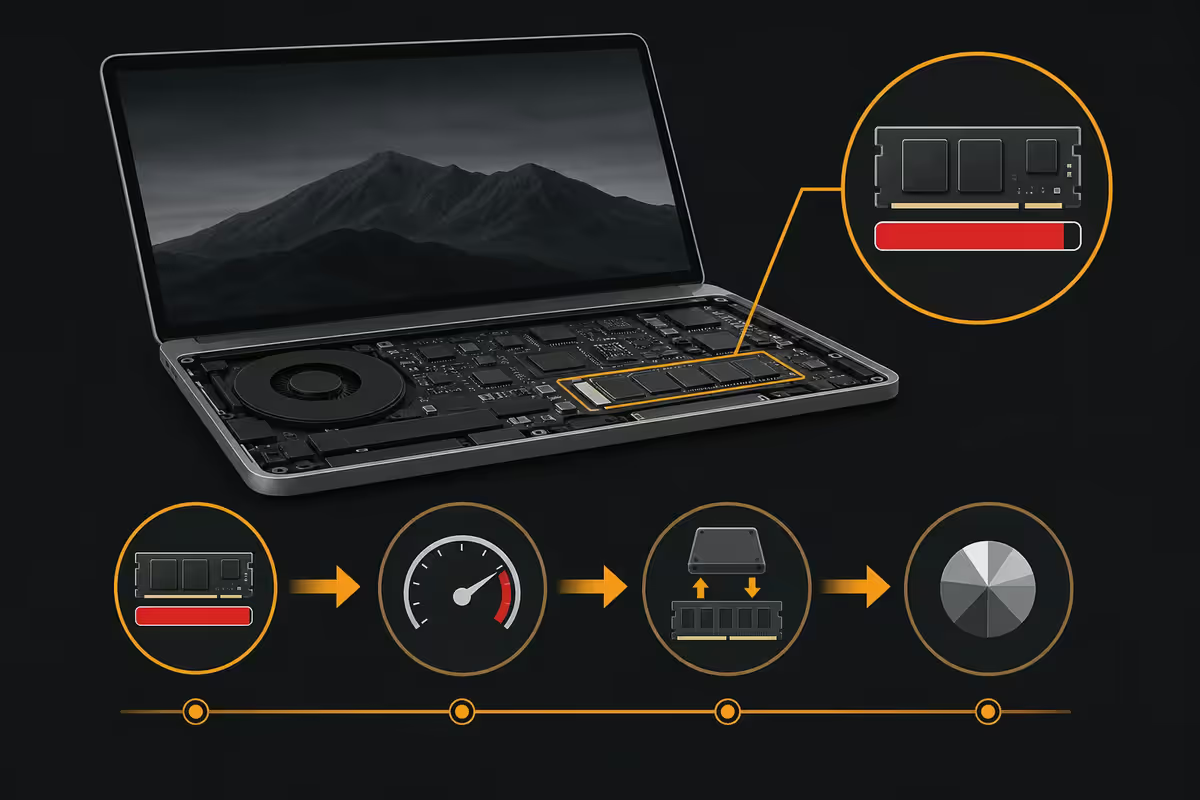
Before doing anything dramatic — before "I should reinstall macOS" or "I should buy a new MacBook" — spend 30 minutes diagnosing the actual cause. macOS exposes everything you need to know in three places, all free, all included.
- Storage panel (System Settings → General → Storage). Shows you how full the disk is and which categories — apps, photos, mail, system data — are eating space.
- Login Items panel (System Settings → General → Login Items). Shows you every app and background process configured to start at boot.
- Activity Monitor (Applications → Utilities → Activity Monitor). Shows you what's actually running right now and what's using CPU, memory and disk.
Run through these three in order. For the vast majority of slow MacBooks, the culprit appears within the first 10 minutes. The remaining 20 minutes are usually applied to the fixes — emptying Trash, disabling Login Items, quitting runaway processes, switching browsers.
From the slow-Mac support data we see across SA customers, the breakdown of root causes is remarkably consistent:
| Root cause | Share of cases | Free to fix? |
|---|---|---|
| Storage almost full | 38% | Yes |
| Too many Login Items | 24% | Yes |
| Browser as memory hog | 17% | Yes |
| Indexing in progress | 11% | Yes (wait) |
| Genuine ageing hardware | 6% | No (upgrade) |
| Other (malware, corruption, etc.) | 4% | Sometimes |
Storage almost full — the #1 cause
macOS performance degrades sharply when the system disk gets above 90% full. Below that threshold, things run normally. Above it, every operation slows — the system runs out of scratch space for swap files, temporary caches, app data and background operations.
How to check: System Settings → General → Storage. The bar at the top shows used vs free, colour-coded by category. Click "Manage..." for a detailed breakdown of what's eating space.
Quick wins, ranked by typical impact:
- Empty Trash in Finder. Many users have 10-50GB sitting in Trash waiting to be released.
- Delete the Downloads folder backlog. Most Downloads folders have 5-30GB of files from years past — installers, screenshots, archived emails.
- Offload large videos and photos. 4K family videos easily reach 100GB+ on a typical Mac. Either move to external drive or upgrade iCloud Photos to "Optimise Mac Storage."
- Uninstall apps you don't use. System Settings → General → Storage → Applications shows them ranked by size. Adobe CC alone can be 30-50GB; Xcode 40GB+; Final Cut Pro 10GB+.
- Clean up old iOS/iPad backups (Finder → device → "Manage Backups"). Each old iPhone backup is 5-30GB.
- Trash old project files and Time Machine local snapshots. macOS keeps local snapshots even with no Time Machine drive connected, eating 5-50GB silently.
For deeper visualisation, install GrandPerspective (free) or DaisyDisk (paid). Both show every file on disk as proportional rectangles — you'll immediately see where the space went.
Target: at least 15% free, ideally 20%. On a 256GB Mac that's 38-50GB of headroom. On a 512GB Mac, 75-100GB. Once below the threshold, slowness disappears for most users.
Login Items — the silent slowdown
Login Items are apps and background processes configured to launch when you boot the Mac. Many apps install themselves there during their first run without ever asking — Adobe Creative Cloud, Microsoft AutoUpdate, Dropbox, Slack, Spotify, Steam, OneDrive, Logitech Options, NordVPN, Zoom — and each one consumes RAM, CPU and disk at startup, then continues running in the background.
On a Mac that's been in use for 2-3 years, it's common to see 20-30 Login Items running — often only 4-5 are actually needed.
How to clean up: System Settings → General → Login Items. The panel has two sections:
- "Open at Login" — full visible apps that launch with the system.
- "Allow in the Background" — background helper services (often the bigger problem). Adobe alone installs 4-6 background helpers on most Macs.
What to keep on for most users: 1Password / Bitwarden, Magnet / Rectangle (window management), Backup app (Time Machine helper, Backblaze), MenuBar utilities you actually use (Bartender, Itsycal).
What to turn off for most users: Adobe CC, Microsoft AutoUpdate, Spotify, Slack (you'll launch it when you need it), Steam, Discord, Zoom auto-start, OneDrive (unless you actively use it), Dropbox (same), Logitech Options (works without it), NordVPN auto-connect.
After cleaning up, restart and the change is immediate — boot is faster, Activity Monitor shows fewer processes, and free memory increases by 1-3GB on most Macs.
Activity Monitor — finding the runaway process
Activity Monitor (Applications → Utilities → Activity Monitor) is the macOS equivalent of Windows Task Manager. It shows everything running and what each process is using.
The five tabs:
- CPU. Sort by %CPU descending. If something is using 50-100% CPU constantly, it's likely your culprit. Common offenders: kernel_task (sometimes hits 200%+ on Intel Macs running hot — thermal throttling), mds / mds_stores (Spotlight indexing), photoanalysisd (Photos analysing faces and scenes), backupd (Time Machine), Google Chrome Helper.
- Memory. Shows RAM use. Watch the Memory Pressure graph at the bottom — green = fine, yellow = swapping to disk (slow), red = severely constrained. Sort by Memory descending to find RAM hogs.
- Energy. Best for battery troubleshooting on MacBooks. Shows which apps drain power.
- Disk. Shows read/write activity per process. Useful if your Mac is constantly reading the SSD even when you're not doing anything.
- Network. Shows what's using your internet. Useful if Wi-Fi feels slow but bandwidth seems fine.
To quit a runaway process: select it, click the X button at the top, choose "Quit" (graceful) or "Force Quit" (immediate). If it's a system process (mds, photoanalysisd), let it finish rather than killing it — it'll just restart.
Browser as memory hog
On most modern MacBooks, the single largest memory user is the web browser. Chrome, Edge, Brave, Arc — all Chromium-based browsers — use significantly more RAM per tab than Safari does.
Real numbers from Activity Monitor across a typical workflow (Gmail, Google Docs, Slack web, YouTube, news sites, 15-20 tabs total):
| Browser | RAM use (15-20 tabs) | Battery impact |
|---|---|---|
| Safari | 2.5-4 GB | Lowest |
| Brave | 3-5 GB | Moderate |
| Firefox | 3-5 GB | Moderate |
| Edge | 4-7 GB | Higher |
| Arc | 5-8 GB | Higher |
| Chrome | 5-9 GB | Highest |
For an 8GB or 16GB Mac running tight on memory, switching to Safari is often the single biggest improvement you can make. Safari supports the same major web standards, includes excellent extension support, and is built to take advantage of Apple Silicon hardware acceleration that Chromium browsers don't fully use.
If you must use Chrome (specific extensions, web app compatibility), try:
- Tab Suspender extensions (The Great Suspender alternatives, Auto Tab Discard) — automatically unload tabs that haven't been touched for X minutes.
- Profiles separation — keep work and personal in separate Chrome profiles so you can close one and reclaim memory.
- Memory Saver mode (Chrome → Settings → Performance → Memory Saver) — Chrome's built-in tab unloading. Saves 1-3GB on a heavy user.
- Brave as a Chrome alternative — Chromium-compatible (same extensions) but better RAM management.
Indexing operations — give them time
macOS runs several background indexing operations that temporarily make the system feel slow. The two biggest:
- Spotlight indexing (mds / mds_stores). Indexes all files on disk so search works instantly. Runs heavily after a fresh install, major macOS update, large file import, or new external drive. Can take 12-24 hours to complete on a Mac with lots of files.
- Photos analysis (photoanalysisd). Analyses your photo library for faces, scenes, objects. Runs heavily after importing a large batch of photos or migrating libraries. Can take days on a 50,000+ photo library.
- iCloud sync — both first-time download of new iCloud Photos / Drive content, and ongoing sync of changes. The first 24-48 hours after enabling iCloud are typically heavy.
The fix is "wait." Plug the laptop in, leave it running (don't close the lid completely — connect to power), let the indexing finish. Once done, the system runs at normal speed again.
To check progress: open Spotlight (Cmd+Space) and start typing. If a progress indicator appears, indexing is still running. Activity Monitor → CPU → search "mds" or "photoanalysisd" — if they're using significant CPU, give it more time.
Time Machine timing
Time Machine is excellent — but if it runs hourly during your workday, it consumes disk bandwidth and CPU at the wrong moments. The fix is to schedule backups outside work hours.
By default, Time Machine backs up every hour while connected to its backup target. If you only connect it at home (overnight, weekends), this isn't an issue. If your backup drive is always connected via a Thunderbolt dock or NAS, every hourly backup interrupts your workday.
To reduce frequency: macOS doesn't directly let you change the hourly schedule, but third-party apps (TimeMachineEditor, Carbon Copy Cloner, ChronoSync) give you scheduled backup control. Or simply set Time Machine to "Manual" and trigger backups at lunch / end of day yourself.
For network-based backups (Time Capsule, NAS via SMB), performance impact is significantly larger because the backup runs over the network. Schedule these for off-hours always.
Apple Silicon memory pressure
Apple Silicon Macs (M1, M2, M3, M4) use unified memory — a single memory pool shared between CPU, GPU, Neural Engine and other components. The memory chips are physically part of the System-on-Chip (SoC), which is why you cannot upgrade RAM on Apple Silicon — it's soldered.
Apple Silicon is dramatically more memory-efficient than Intel — an M3 with 16GB unified memory feels closer to a 24-32GB Intel system in real-world load. But every Mac has a ceiling, and once you reach it, the only path is more memory next time you buy.
How to read Memory Pressure (Activity Monitor → Memory tab → graph at the bottom):
- Green — system has plenty of memory headroom. Everything runs at full speed.
- Yellow — system is starting to compress memory and swap to disk. Performance drops measurably. Close some apps.
- Red — system is heavily swapping. Apps feel sluggish, beachballs appear. Close many apps immediately.
If your Mac is in red regularly even after closing apps, you've outgrown the machine. There's no software fix — the next MacBook needs more memory. 16GB is the practical floor for any serious work on Apple Silicon in 2026; 24GB or 32GB if you regularly run video editors, Xcode, virtual machines, or large local AI models.
Intel MacBook thermal throttling
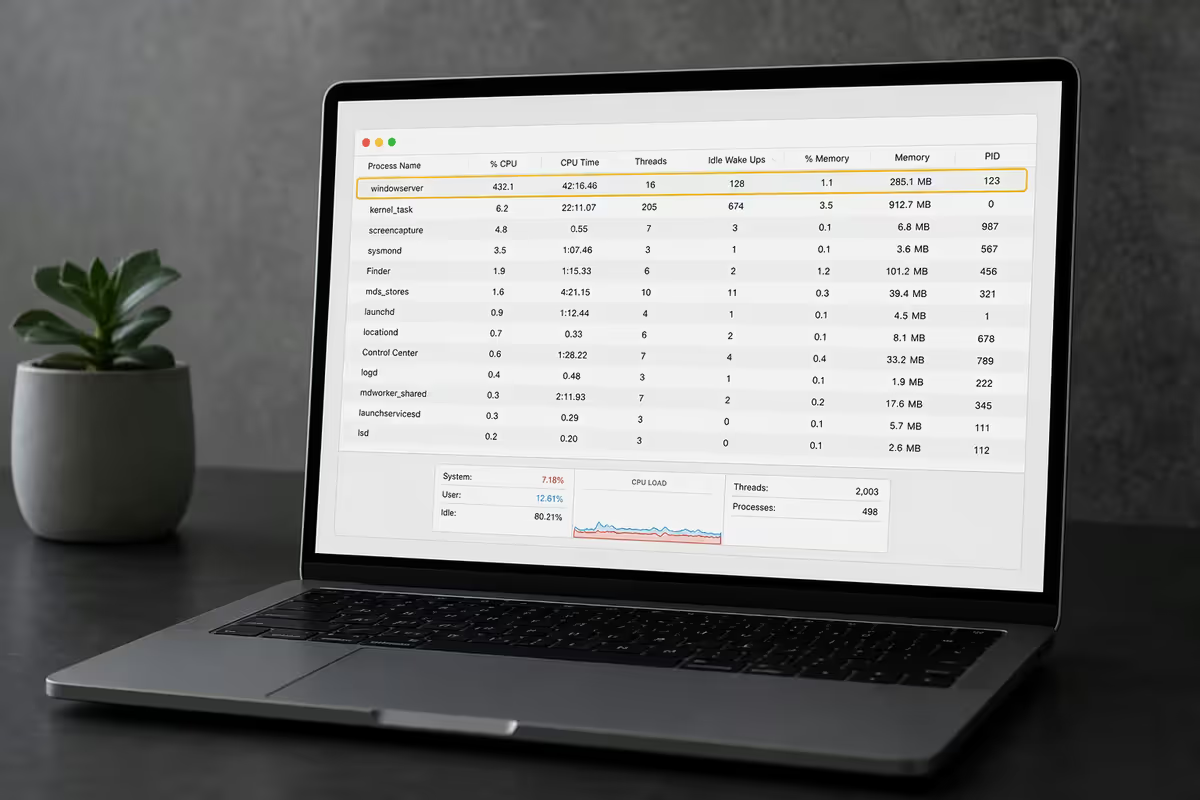
Intel-era MacBooks (2015-2020) are notorious for thermal throttling. The Intel chips in those generations ran hot, and Apple's chassis cooling was designed for thinness rather than peak sustained performance. The result: under heavy load (compiling code, exporting video, multi-tab browsing) the CPU temperature hits 95-100°C, and macOS throttles clock speed by 30-50% to protect the silicon.
How to recognise thermal throttling:
- kernel_task using 100%+ CPU in Activity Monitor — macOS uses kernel_task as a thermal regulation mechanism.
- Fans loud and constant under load.
- Chassis hot enough to be uncomfortable on a lap.
- Performance suddenly drops 30-60 seconds into a heavy task.
Fixes that help:
- Use the laptop on a hard surface (desk, table) rather than soft surfaces (couch, bed) that block intake vents.
- Clean dust from vents with compressed air — Mac vents accumulate fluff and pet hair within 1-2 years.
- Repaste the CPU with fresh thermal paste (for advanced users / iFixit-comfortable). The factory paste degrades after 4-5 years; repasting drops temps 8-15°C on heavily-used 2017-2019 MacBook Pros.
- Reduce sustained workloads — set Chrome to Memory Saver, close unused apps, batch heavy tasks instead of running them in parallel.
- Use external cooling — a laptop cooling pad (R400-R900 in SA) helps marginally.
Apple Silicon MacBooks largely don't have thermal throttling problems — the M-series chips are 4-5× more power-efficient than the Intel chips they replaced. If thermal throttling is a daily issue, the long-term fix is an Apple Silicon Mac.
macOS version mismatch
Newer macOS versions run slower on older hardware. Apple supports each Mac for roughly 7-8 years of macOS updates, but the newer versions add features (Apple Intelligence, more background processes, more visual effects) that older silicon struggles with.
If your 2017 MacBook Pro is on macOS Sonoma or Sequoia and feels slow, that's expected — the OS is doing more than the chip is comfortable with. You have three options:
- Stick with the current macOS version. Apple ships security updates for the current and two previous major versions, so a Mac on macOS Sequoia gets security updates for ~2 more years.
- Downgrade to an earlier macOS version (only if the model still supports it). This is technically involved — you need a fresh install with the older macOS, then restore your data. Not for casual users.
- Disable Apple Intelligence, transparency effects, and unnecessary background services. System Settings → Accessibility → Display → "Reduce motion" and "Reduce transparency" can recover 10-20% perceived performance on older Macs.
SMC, NVRAM and Safe Mode resets
Several reset techniques have become Mac-troubleshooting folklore. They work on Intel Macs; less so on Apple Silicon.
SMC reset (Intel only): the System Management Controller manages power, thermal, battery and fan behaviour. Resetting it fixes issues like fans running constantly, sleep/wake misbehaviour, battery not charging properly. Procedure: shut down, hold Left Shift + Control + Option + Power for 10 seconds, release, then power on normally.
NVRAM / PRAM reset (Intel only): stores boot-time settings like volume, display resolution, startup disk. Reset fixes display weirdness, wrong startup disk, sound issues. Procedure: hold Cmd + Option + P + R during boot for ~20 seconds.
On Apple Silicon (M1 onward): there is no SMC reset, and NVRAM is automatically managed. Restart accomplishes what these resets used to. Apple Silicon's equivalent is much simpler — restart usually clears the same range of weirdness.
Safe Mode is the most useful reset on modern Macs. It loads only essential system software, runs a basic disk check, clears font and kernel caches, and prevents third-party Login Items from launching. Excellent for isolating whether a slowdown is caused by macOS itself or by a third-party app.
- Intel Safe Mode: hold Shift during boot until the Apple logo appears with a progress bar.
- Apple Silicon Safe Mode: press and hold the power button until "Loading startup options" appears, click your startup disk, then hold Shift and click "Continue in Safe Mode."
If the Mac is fast in Safe Mode but slow in normal mode, the cause is a third-party Login Item, extension, or kernel-level driver — usually antivirus software, VPN drivers, or virtualisation software.
When to upgrade vs replace
Some MacBooks reach a point where software fixes can't recover usable speed. Three signs you've crossed that line:
- Battery health below 80% (System Settings → Battery → Battery Health). Below this, performance management kicks in and the system runs slower to protect the battery.
- Apple Silicon memory pressure in red regularly even after closing apps. The Mac has outgrown your workload.
- No longer receiving macOS updates. Apple drops older Macs from the supported list each year. Without security updates, the machine becomes a security liability.
Upgrade paths (Intel-era Macs only):
| Model era | RAM upgrade? | SSD upgrade? | Recommended |
|---|---|---|---|
| 2012-2015 MBP | Yes (16GB) | Yes (1TB) | R3,500-R6,000 — worth it |
| 2016-2019 MBP | No (soldered) | Yes (premium specialist) | R3,500-R8,000 — case-by-case |
| 2020 Intel MBP | No (soldered) | No | No upgrade path |
| Apple Silicon (M1+) | No (unified) | No (soldered) | Buy more next time |
For Apple Silicon Macs, the upgrade path is a new Mac. The good news: even an M2 Air outperforms most 2019 Intel MacBook Pros, lasts 15+ hours on battery, and runs silent. The transition to Apple Silicon was a generational leap in performance per watt.
Common slow-MacBook mistakes
"I'll just reinstall macOS." Tempting and often unnecessary. The 30-minute diagnostic finds the cause for 71% of slow Macs without touching the OS. A reinstall is the right move for a corrupted system, not for "feels slow."
Buying a "Mac cleaner" app. Most "MacBook cleaners" — CleanMyMac, MacKeeper, etc. — duplicate what macOS's built-in Storage panel already shows, and some inject their own background processes. The free options (built-in Storage, GrandPerspective, DaisyDisk) are sufficient.
Running antivirus on top of macOS. macOS is hardened against the typical Windows-style threats. Most third-party antivirus on macOS adds more performance overhead than security benefit. Built-in Gatekeeper, XProtect and System Integrity Protection handle the actual threat landscape.
Ignoring battery health. Once below 80%, macOS deliberately slows the system to protect the ageing battery. Battery service (~R2,500-R4,500 at iStore) restores full performance.
Letting Spotlight reindex repeatedly. Adding/removing external drives constantly causes reindexing. If you have a backup drive that connects and disconnects often, add the drive to Spotlight's exclusion list (System Settings → Spotlight → Privacy) so it doesn't reindex on every reconnect.
Running on near-zero storage indefinitely. macOS doesn't warn you loudly until 95%+. The performance hit starts at 90%. Don't let the disk get above that line.
Key takeaways
- 71% of slow MacBook complaints are free to fix — diagnose with Storage, Login Items and Activity Monitor before any drastic action.
- Storage almost full is the #1 cause — keep 20% headroom for macOS to breathe.
- Login Items multiply silently — disable 60-80% on most 2-3 year old Macs without losing functionality.
- Safari uses 40-60% less RAM than Chrome on macOS — single biggest fix for 8GB and 16GB Macs.
- Apple Silicon memory pressure red means you've outgrown the Mac — RAM is soldered, so the next purchase needs more.
Frequently asked questions
Why is my MacBook suddenly so slow?
Top causes, in order: storage almost full, too many Login Items, browser memory hog, background indexing, and only rarely genuine ageing hardware. Most cases are free to fix once diagnosed.How do I free up storage on a slow MacBook?
System Settings → General → Storage. Empty Trash, delete old downloads, offload large videos/photos to iCloud or external, uninstall unused apps. Aim for 20% free space.What are Login Items and why are they slowing my Mac?
Apps that launch at boot — Adobe CC, Microsoft AutoUpdate, Dropbox, Slack, Spotify, etc. Each takes RAM and CPU. Disable in System Settings → General → Login Items.Is Chrome or Safari better for a slow MacBook?
Safari — uses 40-60% less RAM than Chrome on the same tabs and is more battery-efficient. The single biggest fix for 8GB and 16GB Macs.What is Apple Silicon memory pressure and what does it mean?
Activity Monitor → Memory tab graph. Green = fine, yellow = swapping (slow), red = severe. Apple Silicon RAM is soldered, so red regularly means a higher-spec Mac next time.Should I reset SMC and NVRAM on my MacBook?
On Intel MacBooks, yes for power/thermal/display issues. On Apple Silicon, restart is the equivalent. Safe Mode boot is the most useful modern reset.Is it worth upgrading an old MacBook's RAM or SSD?
2012-2015 MBP — yes, both. 2016-2019 — SSD only at premium specialists. 2020 Intel and Apple Silicon — no user upgrades possible.When should I replace my MacBook instead of fixing it?
When the Mac is Intel-era and dropped from macOS support, battery is below 80% with portability needed, or Apple Silicon memory pressure is regularly red.
Get the Evetech app
Exclusive app-only prices, daily flash sales, and free delivery on orders over R4,000 — download the app and start saving.